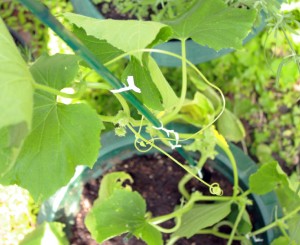
I have a half dozen heirloom cucumber plants in my small city garden that are just starting to grow flowers. Little buds are growing up and down the stems.
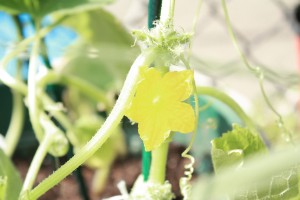
 This is the first year I’ve grown everything from seed (I purchased from the excellent seedsavers.org), so it’s been nerve-wracking and rewarding. Yesterday, Clara chased a butterfly around the garden, and today a bumblebee stopped to visit the very first flower on my largest plant.
 So, with all this excitement, and full knowledge that I’ll be swimming in cucumbers within the next few weeks, I really should have been able to resist the itty bitty cucumbers at the farmers market. Obviously I failed. I ate the first little cuke raw, with dashes of salt on each bite.
If you haven’t canned before, pickles are an easy way to get started. First, you’ll need to sterilize your jars and lids. Never ever ever reuse lids. Don’t even think about it. Not even that once*.
For the lids, add a cup of water to a small saucepan. Simmer on medium low heat, add lids for a few minutes (2-3) to loosen the rubber seals.
Sterilize your jars in hot water for 10 minutes. You can use a large stock pot, but you need a weighted down towel or a steamer rack on the bottom of your pot to prevent the jars from hitting the bottom and cracking. Bring the water a boil, reduce heat to simmer, lower the jars in gently, and keep at a simmer for 10 minutes.
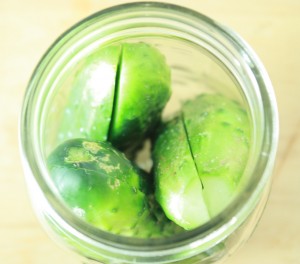
Prep your jars. You can cut up the cukes any which way you like. Sliced coins are easier to pack, but I love whole cukes or spears. These little guys were sliced lengthwise.
Pack the cukes in, then add your seasonings. My mix goes something like (per jar):
- 1 tsp dill seeds
- 1/2 tsp peppercorns
- 2 whole garlic cloves
- 1/2 tsp cayenne pepper
- dill fronds
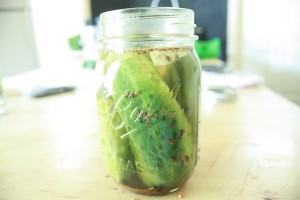
Start your brine. Equal parts vinegar to water, 1 cup total for each jar. I prefer apple cider vinegar, but white will do. Bring to a simmer. Pour hot brine into jars, leaving 1/2 inch space available in the jar. Wipe the rims off with a damp towel. If your rims aren’t clean, the jars might not seal. Now, if you’re impatient like me, and you’re going to throw these in the refrigerator for more immediate consumption ( I try to wait 3-5 days to reach appropriate pickleness), throw the lid and band around the jar, and you are done.
But, if you’re creating a large batch for your pantry, you’ll need to place the lidded jars (with bands) back into your stock pot with water at a boil for 10 minutes. When you remove the jars with tongs, let them cool on the counter. You can test the seal two ways –
- Pick up the jar by the sides of the lid. If it comes off, it didn’t seal.
- Press the center of the lid, and release. If it pops, it ain’t sealed. The seal should create a vacuum.
If your seals are good, slap the bands around them and store the jars in a dark, cool place.
* Lids and the seal are the critical step that should scare you about canning. And, since it’s the very last step, don’t waste your time and effort trying to save a few cents by reusing lids that won’t reseal most of the time.


